Creating homemade vinegar is simple and rewarding, especially when using leftover wine from bottle bottoms. Customize flavors to your taste and say goodbye to store-bought versions.
Understanding the basics helps ensure success. Wine transforms into vinegar through exposure to air and naturally occurring bacteria. The key catalyst is the "mother"—a thin membrane that forms on the wine's surface after a few weeks in open air.
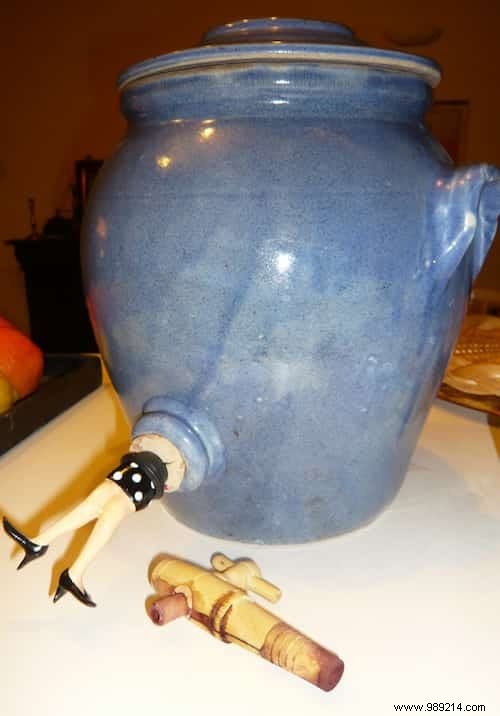
For quality results, select a vinegar maker made from oak, ceramic, or stoneware. It features a large cork stopper that allows air circulation—crucial for vinegar formation—and a built-in tap for easy dispensing. You can purchase one like this.

1. Start with young wine (fresher wine speeds up the process). Red, white, or rosé all work.
2. Pour your wine bottle remnants into a container. Mix varieties like Bordeaux, Burgundy, or Beaujolais—no issues there.
3. Expose the mixture to air and wait 3-4 weeks for the "mother" to form—a thin film on the surface that converts wine to vinegar.
4. Transfer the "mother" to your vinegar maker using a ladle or large spoon.
5. Fill the vinegar maker with low-alcohol wine (7-10°). A standard pot holds 4-5 liters; fill it fully initially to enable ongoing draws.
6. Wait 4-6 weeks, tasting near the end (a few drops on a spoon suffice) to check readiness.
7. Enjoy your first batch! Draw off no more than 1/2 to 1 liter weekly (up to 1/5 of the pot) via the tap into a daily-use bottle.
Top up with bottle remnants to keep production going. Vinegar-making is straightforward and sustainable.
If you're impatient or know a fellow vinegar maker, borrow a "mother" to skip the initial month.
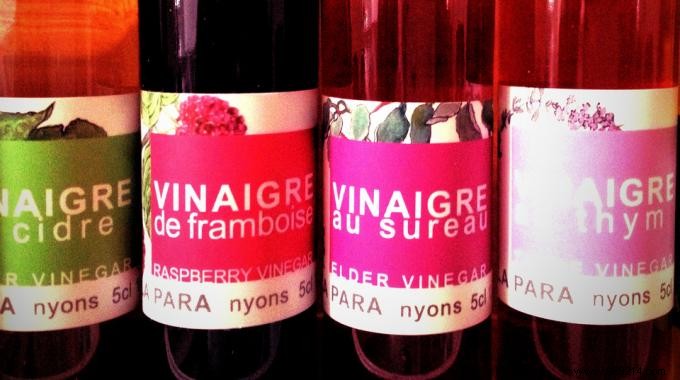
Perfect for salads, sauces, and more—tailored to your favorite wines for personalized flavor.
- Prefer red wines.
- Store in a dry, ventilated spot at 20°C+.
- Avoid moving it; lift the cap periodically for aeration.
- Higher-quality wines yield superior vinegar.
Simple maceration works wonders. Infuse ingredients like thyme, tarragon, raspberries, or garlic in a separate container for several days—never directly in the main pot.
After the initial vinegar maker purchase, savings add up. Repurpose bottle bottoms instead of discarding them, mixing your everyday wines. No need for dedicated purchases or store-bought vinegar.