Apple cider vinegar offers remarkable health benefits, from aiding digestion to supporting immunity. Still skeptical? Read our detailed article on its advantages here.
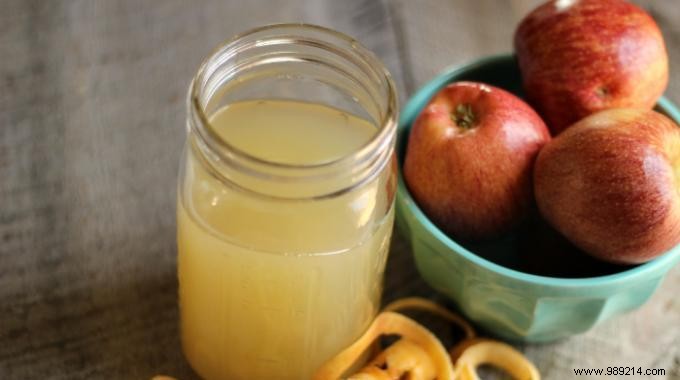
One drawback: store-bought versions can be pricey. The good news? You can easily craft your own using just apple juice.
This time-honored recipe, originating in France and refined over millennia, has been a staple in home kitchens since the 17th century. Our grandmothers mastered it, and with this guide, so can you.

1. Start with 1 liter of unpasteurized apple juice.
Note: Skip commercial juices, as they often contain preservatives or have been pasteurized, which halts fermentation.
2. Pour the juice into a clean glass bottle.
3. Secure a balloon over the bottle's mouth. It will inflate as CO2 from fermentation escapes, keeping contaminants out.
4. Store the bottle in a warm spot at 20-22°C.
5. Wait up to six weeks. Sugars convert to alcohol, forming cider. Timing varies with temperature and juice sugar levels.
6. Transfer the cider to a wide-necked glass container, like a pitcher or vinegar jar.
7. Cover with a breathable cloth to block dust and insects.
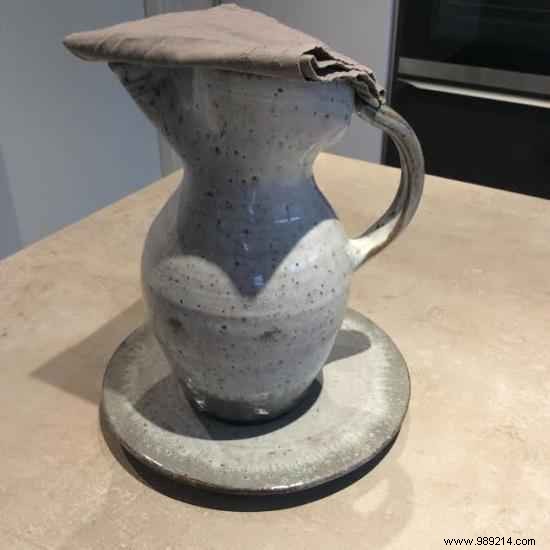
8. Let it sit for four weeks. A slimy "mother"—a gelatinous layer of acetic acid bacteria—will form at the bottom.
Congratulations! Your homemade apple cider vinegar is ready. An acidic aroma after four weeks signals completion.
Though it requires patience, this method is simple, economical, and yields superior quality compared to store-bought options.
- Sweeter apple juice yields stronger vinegar due to higher alcohol content during fermentation.
- Glass is ideal for its acid resistance and visibility; stoneware or ceramic works too.
- If too potent, gently boil to mellow the flavor.
- Infuse with rosemary, thyme, sage, bay leaves, or your favorite herbs by boiling together.
- Save the mother culture to kickstart your next batch.
No apple juice? Make vinegar from fresh or leftover apples instead. Find the recipe here.