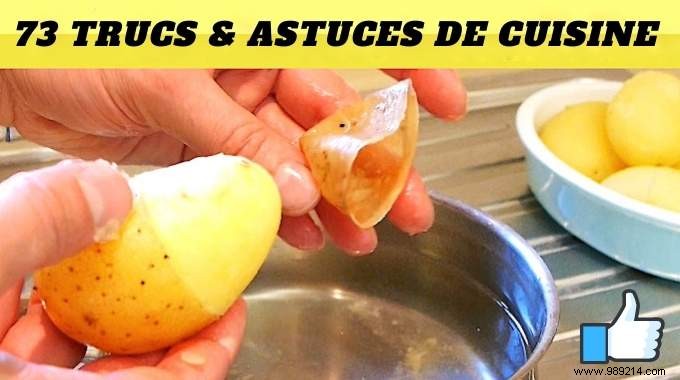
As a seasoned home cook and parent of two, I know the joys of family meals outweigh restaurant costs—but kitchen time can be a challenge. Drawing from years of testing practical solutions, I've curated 73 proven kitchen hacks across storage, prep, cooking, cleaning, and organization. These tips, trusted by chefs and busy households alike, streamline your routine without fancy gadgets. Watch and learn:

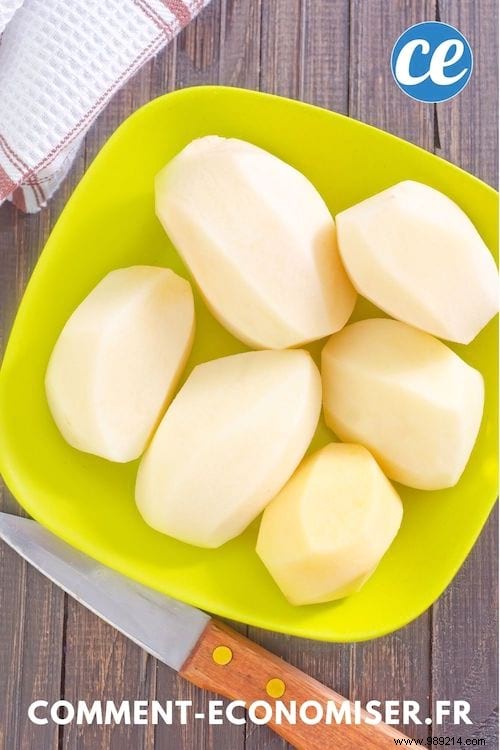
Peeled or cut potatoes oxidize due to starch exposure to air, turning black. Soak them in a bowl of cold water immediately—a simple, expert-approved fix I've relied on for years.
Store tomatoes stem-side down at room temperature to minimize wrinkles and juice loss. Refrigeration shortens shelf life; this method keeps them fresh longer. Check out the trick here.
Wrap banana stems in plastic wrap or foil to trap ethylene gas and extend freshness. Separate individually for best results. Check out the trick here.
Place unripe fruit in a paper bag to concentrate ethylene and speed ripening. Ideal for bananas or peaches. Check out the trick here.
Rub cut apples with lemon juice, or mix 1 part honey to 2 parts water for an antioxidant barrier. Both preserve color naturally. Check out the trick here.
Store in an airtight container with an orange peel, apple slice, marshmallows, or bread to retain moisture. To soften hardened sugar, microwave with a glass of water for 15-30 seconds.
Chill the roll in the fridge; cold makes it unwind smoothly without sticking. Check out the trick here.
Use reusable shower caps over bowls—they stretch securely, are washable, and outperform plastic. To discover: How To Replace Plastic Cling Film With Reusable Film.
Drop into cold water: sinks = fresh; floats = old due to air pocket buildup. Check out the trick here.
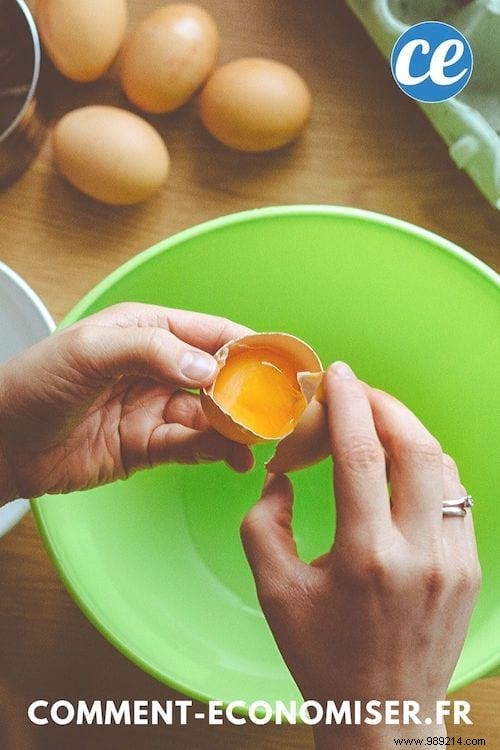
Use the broken shell half—it magnetically attracts the piece. To discover: 10 Incredible Uses of Eggshells. Check out the trick here.
An ice cream scoop's sharp edge scoops out seeds and pulp efficiently. Check out the trick here.
Glide ice cubes in paper towel over soup or sauce; cold solidifies fat for easy spoon removal. Check out the trick here.
Squeeze an empty plastic bottle over the yolk—it suctions it up cleanly. Check out the trick here.
Push pit into an empty beer bottle with a chopstick, or hook out with a paperclip via the stem. To discover: Homemade Cherry Pit Hot Water Bottle. Check out the trick here.
Pinch and open from the bottom (stem up)—nature's design avoids bruising. Check out the trick here.
Scrape with a teaspoon's edge for precision without waste. To discover: Grow Unlimited Ginger at Home. Check out the trick here.
Crush under a knife blade for singles; shake multiples in a sealed jar for 30 seconds. To discover: 10 Garlic Hacks. Check out the trick here.
Roll firmly on a counter or microwave 1 minute; skin slips off easily. Check out the trick here.
Boil skin-on, then shock in ice water—skins slip right off. To discover: 12 Potato Uses. Check out the trick here.

Cut along the crease, twist halves apart, pop pit out. Works for stone fruits.
Shake boiled eggs in a lidded container with water—shells loosen fast. Check out the trick here. To discover: 12 Egg Cooking Tips.
Add 1 tsp baking soda to boiling water to detach membrane. Vinegar prevents cracks. To discover: 10 Eggshell Uses. Check out the trick here.
Quarter lengthwise, pry pit, slip knife under skin. Check out the trick here. To discover: Test Avocado Ripeness.
Pierce from bottom to top with a straw—stems pop out cleanly. Check out the trick here.
Microwave 15-20s, roll, halve lengthwise, squeeze with tongs. To discover: 8 Lemon Juice Hacks.
Squeeze through cheesecloth or a citrus juicer. Tights work in a pinch.
Score around core and ridges; it blooms open. Check out the trick here. To discover: Homemade Pomegranate Juice.
Stand cob in a tube pan or bowl-in-bowl; kernels collect below. Check out the trick here.

Freeze soft cheese 30 min first for clean shreds. To discover: Clean a Cheese Grater Easily.
Use dental floss for clean cuts on brie or cakes. To discover: 10 Dental Floss Uses. Check out the trick here.
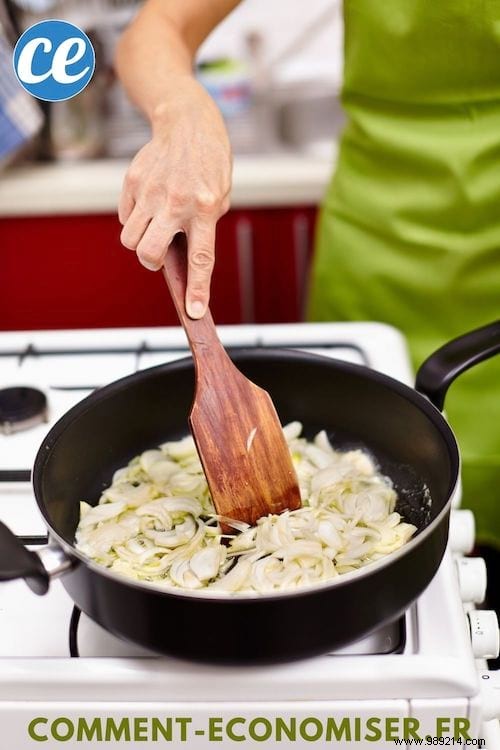
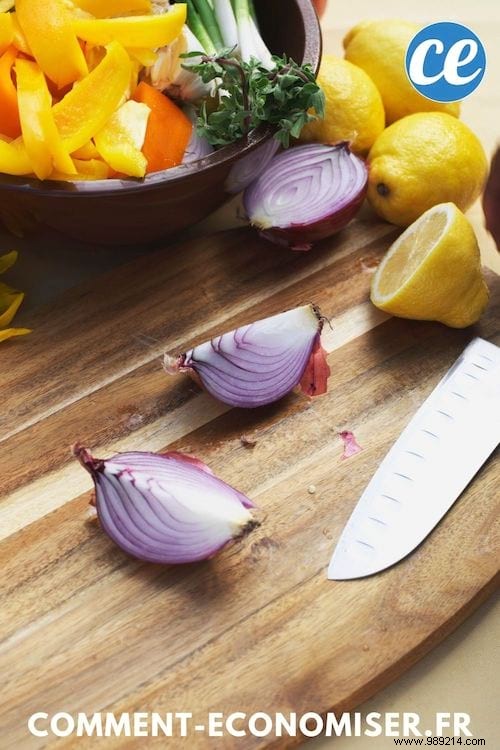
Freeze 15 min pre-chop or bite bread to absorb enzymes. To discover: 7 Onion-Peeling Hacks. Check out the trick here.
Wrap lid with a rubber band for grip, or tap with a spoon. To discover: 47 Rubber Band Uses. Check out the trick here.
Mix milk with 1 tbsp lemon juice or vinegar; rest until curdled. Perfect for fluffy baked goods. To discover: Homemade Butter.
Sandwich between lids, slice through. Check out the trick here.
Grate or flatten under parchment with a rolling pin. Check out the trick here.
Cube and cover with a warm glass. Check out the trick here.
Whisk in a cold water/ice bath for firm texture.
Oil or hot-water-rinse measuring tools first. To discover: Weigh Without a Scale.
Warm jar in hot water 5-10 min. To discover: 10 Honey Uses. Check out the trick here.

Preheat oven with tray inside for high-heat roasts. To discover: Veggie Roasting Guide.
Lay a wooden spoon across the pot—breaks starch foam. Check out the trick here.
Ice-soak breast pre-roast for even doneness. To discover: Oven Temp Guide.
Strain loose whites through a fine sieve first. To discover: Perfect Poached Eggs Trick.
Grease/line pan doubly, cool fully, hot-water-dip serrated knife. To discover: Perfect Cake Slicing.
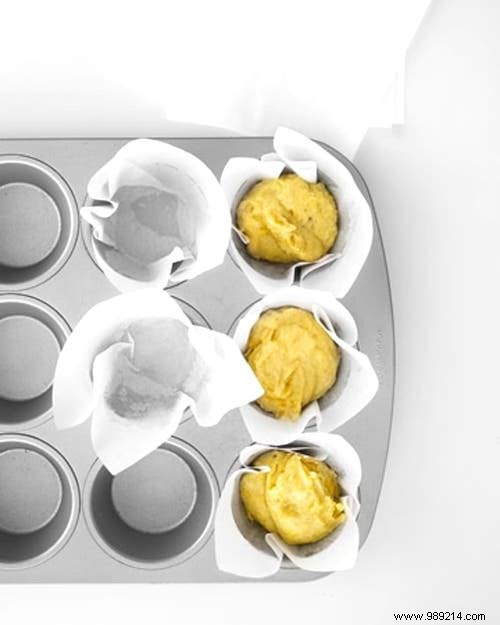
Cut 15x15cm squares, grease tin, press and pleat into cups. Non-stick superiority. To discover: Heart-Shaped Muffins.
Half-fill jar with milk, shake vigorously 30-60s, microwave 30s. French press alternative. Check out the trick here.
Steep grounds in boiling water 4-5 min, ladle off top. To discover: 18 Coffee Grounds Uses. Check out the trick here.
Turn rice into salads, veggies into tarts, pasta into gratins. To discover: 4 Meat Leftover Recipes.
Microwave with a water glass nearby; pan for crisp. To discover: 12 Microwave No-Nos. Check out the trick here.
Toothpick bread slices to cut ends. Check out the trick here. To discover: 40 Cake Tips.
Pile toward plate edges, leaving center empty. Check out the trick here. To discover: Prevent Sticky Pasta.
Mist with water, oven 5 min for crusty-soft renewal. To discover: 7 Bread Storage Tips. Check out the trick here.
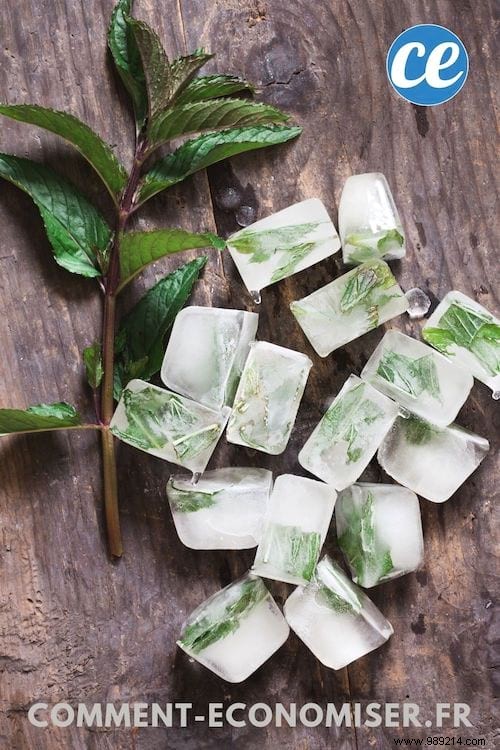
Chop into ice cube trays with water/oil/stock. Fridge-wrap damp paper towel. To discover: 12 Herbs in Water. Check out the trick here.
Frozen grapes as ice cubes. To discover: Recork Wine. Check out the trick here.
Press parchment over surface before lid. To discover: Defrost-Freezer Tips. Check out the trick here.
Semi-freeze 10 min for clean cuts. To discover: 11 Tenderizing Hacks. Check out the trick here.
Freeze to prevent rancidity. Works for all nuts. To discover: Walnut Benefits. Check out the trick here.
Coffee ice cubes, optional milk/sugar. To discover: 14 Ice Tray Uses. Check out the trick here.

Scrub with paper towel and coarse salt—no soap to preserve seasoning. To discover: Pan Cleaning Guide. Check out the trick here.
Rub with lemon, baking soda, or stainless steel soap. Check out the trick here. To discover: 6 Odor Hacks.
Grind stale bread chunks to absorb residues. To discover: Budget Coffee Maker.
Baking soda soak. To discover: Top Pesticide Produce. Check out the trick here.
Steam sponge 1 min, wipe. Lemon for odors. Check out the trick here.
Vinegar-water soak overnight for descaling/polish. Check out the trick here.
Boil then sun-dry for deep clean. To discover: Wooden Spoon Care.
Salt-lemon scrub; monthly mineral oil. To discover: Wood vs Plastic Boards. Check out the trick here.
Use color-coded boards: one for raw meat. To discover: Dirtiest Kitchen Items.
Hang book from hanger on cabinet. Vertical stands available. Check out the trick here.
Clip upright with binder clip for faster drying. To discover: 10 Sponge Uses. Check out the trick here.
Damp towel underneath. Check out the trick here. To discover: Smart Countertop.
Cork-tip blades or use blocks/DIY skewer jars. To discover: 17 Cork Uses. Check out the trick here.
Store blade-up in blocks; use scraper not edge. Sharp is safer. To discover: Knife Sharpening Technique. Check out the trick here.
Slowly sprinkle baking soda for CO2 smothering. Check out the trick here. To discover: Clean Burnt Pans with Baking Soda.